Helmet References
To find suitable reference images I browsed at professional art websites because they generally have multiply images of the product with at least a front and side view.


Modelling Process
To begin the modelling process I brought in a poly cube and used the Smooth selection and added subdivisions to get a quad sphere with good geometry.

To make modelling from a reference easier on myself I turned off the shaded material of the mesh and kept the wireframe. This allowed me to manipulate vertices and edges much easier as well as being more aware of possible mistakes.


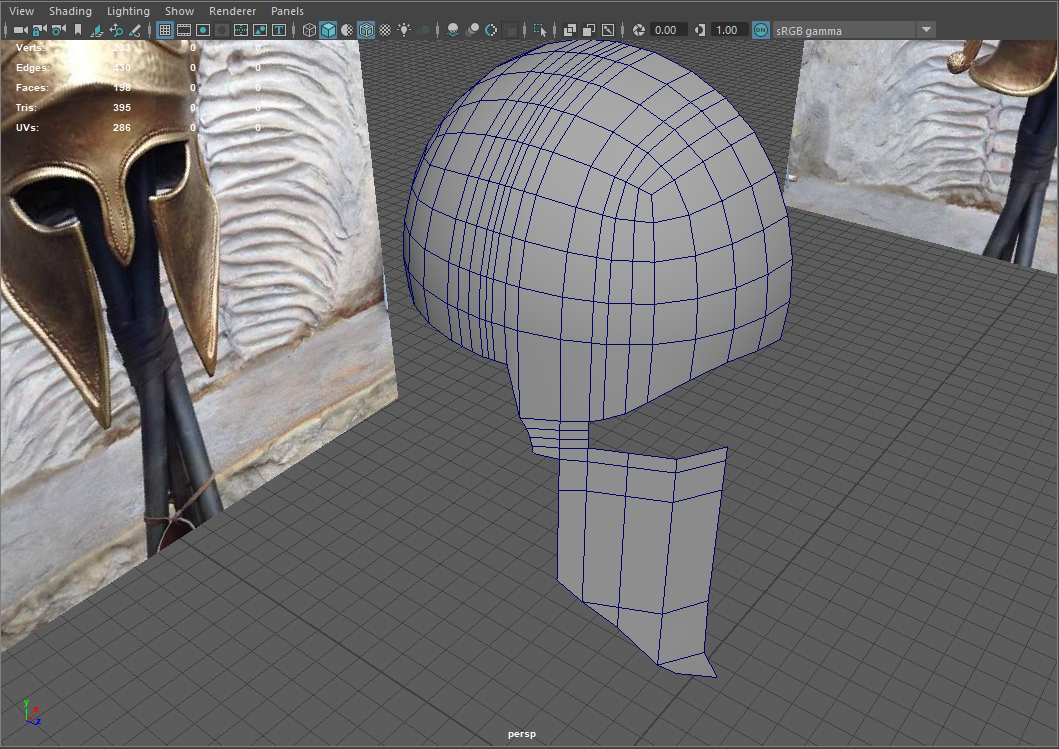
To get the general shape of the helmet I deleted the faces of the smoothed poly cube around the eye shaped holes and extruded the edged to match the reference.

I ran into my first problem of the modelling process which was that I wasn't able to get the depth and form of the shape by tracing the front view of the helmet.

I decided to focus on the side planes of the helmet first whilst also using the perspective camera in Maya to help me keep aware of my depth perception.

By alternating between the side view, front view and perspective camera the mesh starting to form the shape of a three dimensional helmet.


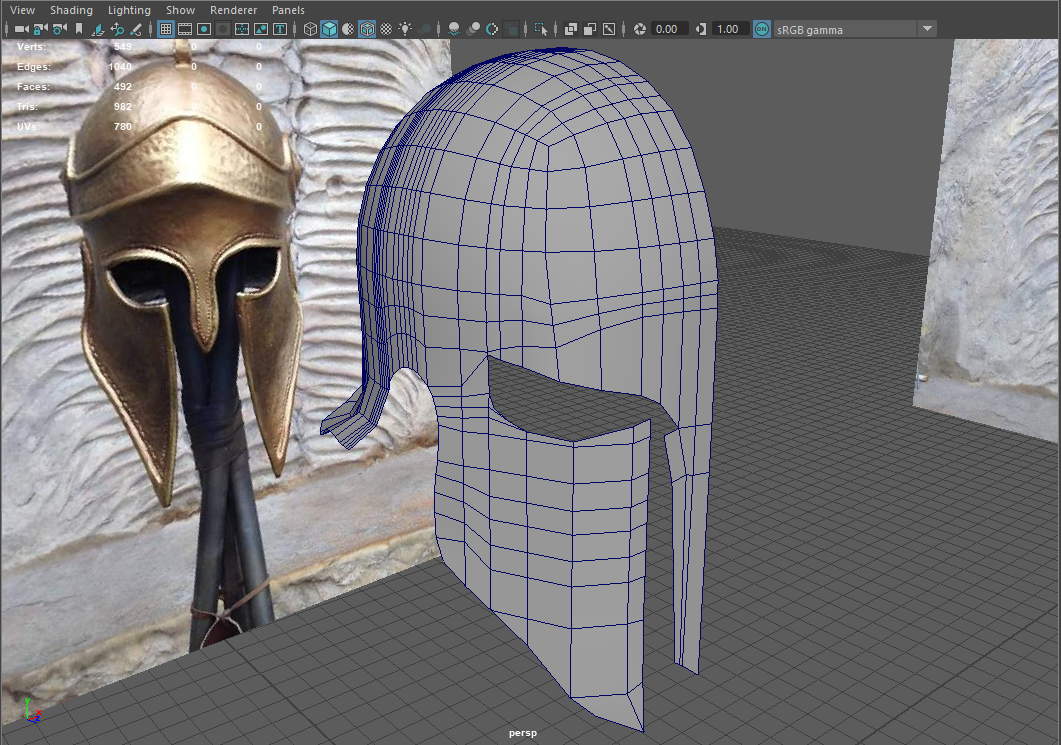
Next I focused working on the back of the helmet and tried to keep the natural shape of the back of the helmet flowing outwards. I didn't want hard edges that made the model look not believable and natural shaped.


The next course of action was to make the model more three dimensional by extruding the outer faces.

To model and add the horn ornament to the helmet I brought in a poly cylinder into the scene, extruded the centre face, then I used the EP Curve Tool to mimic the shape of a horn and extruded along the line by increasing the subdivisions of the extrusion and using the Taper and Twist attributes. To get rid of the line left by the EP Curve Tool I used the Delete All by Type function in the Edit menu.

Once I was satisfied with everything I mirrored the other half.

To get ready to export and import into Substance Painter I assigned each object a new material to both help separate objects in a more visual way and to make texturing much easier in Substance Painter as selecting and texturing individual objects and faces in Substance Painter can become quite complicated.
